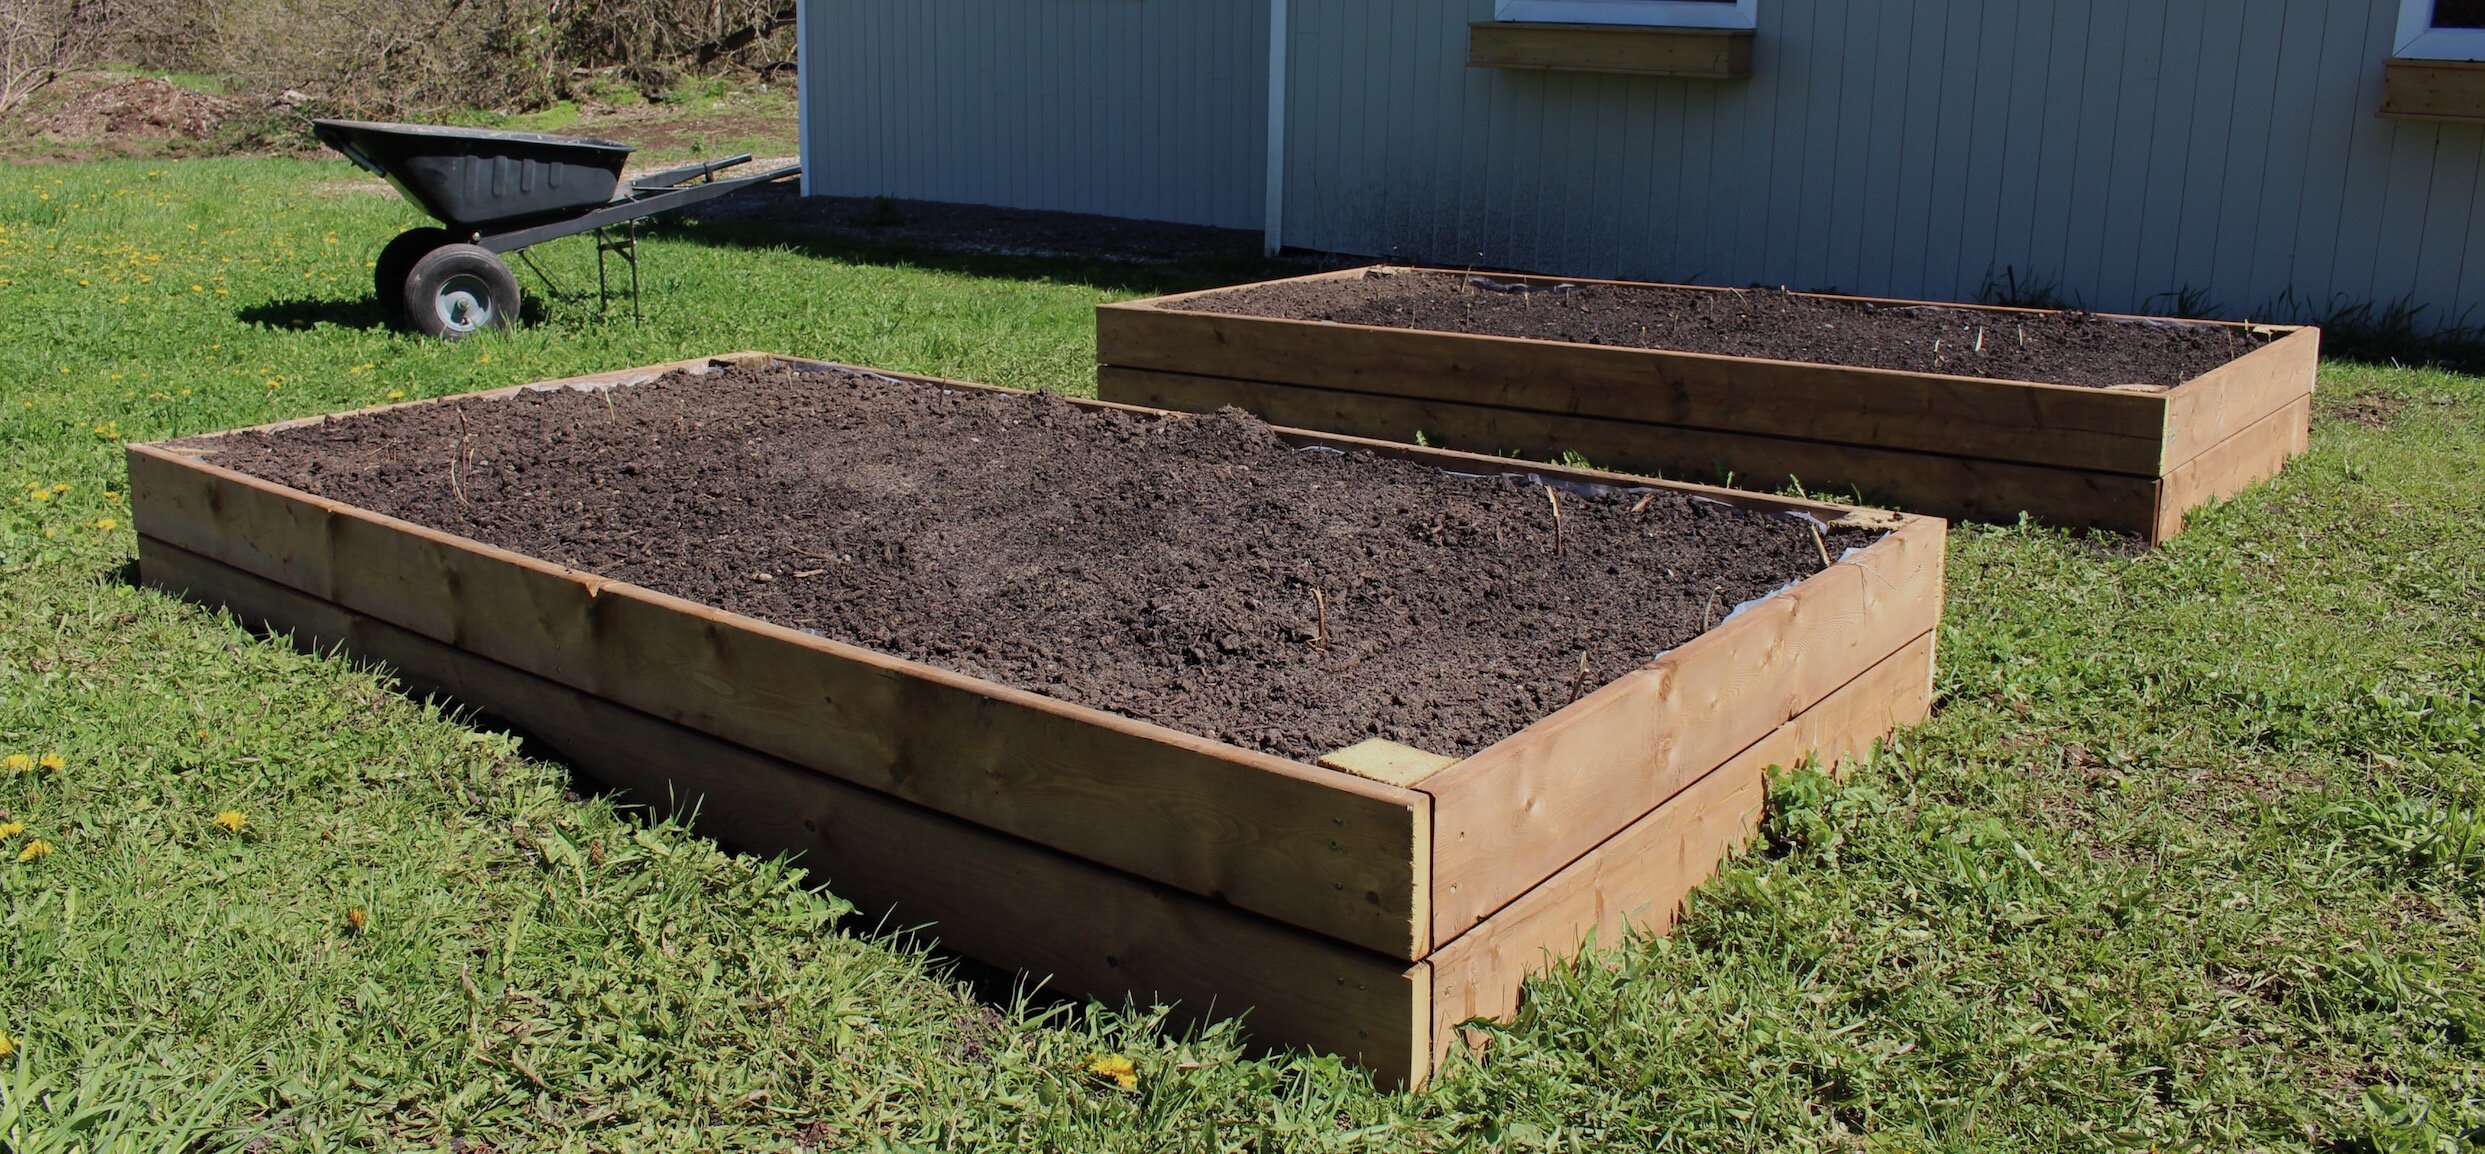
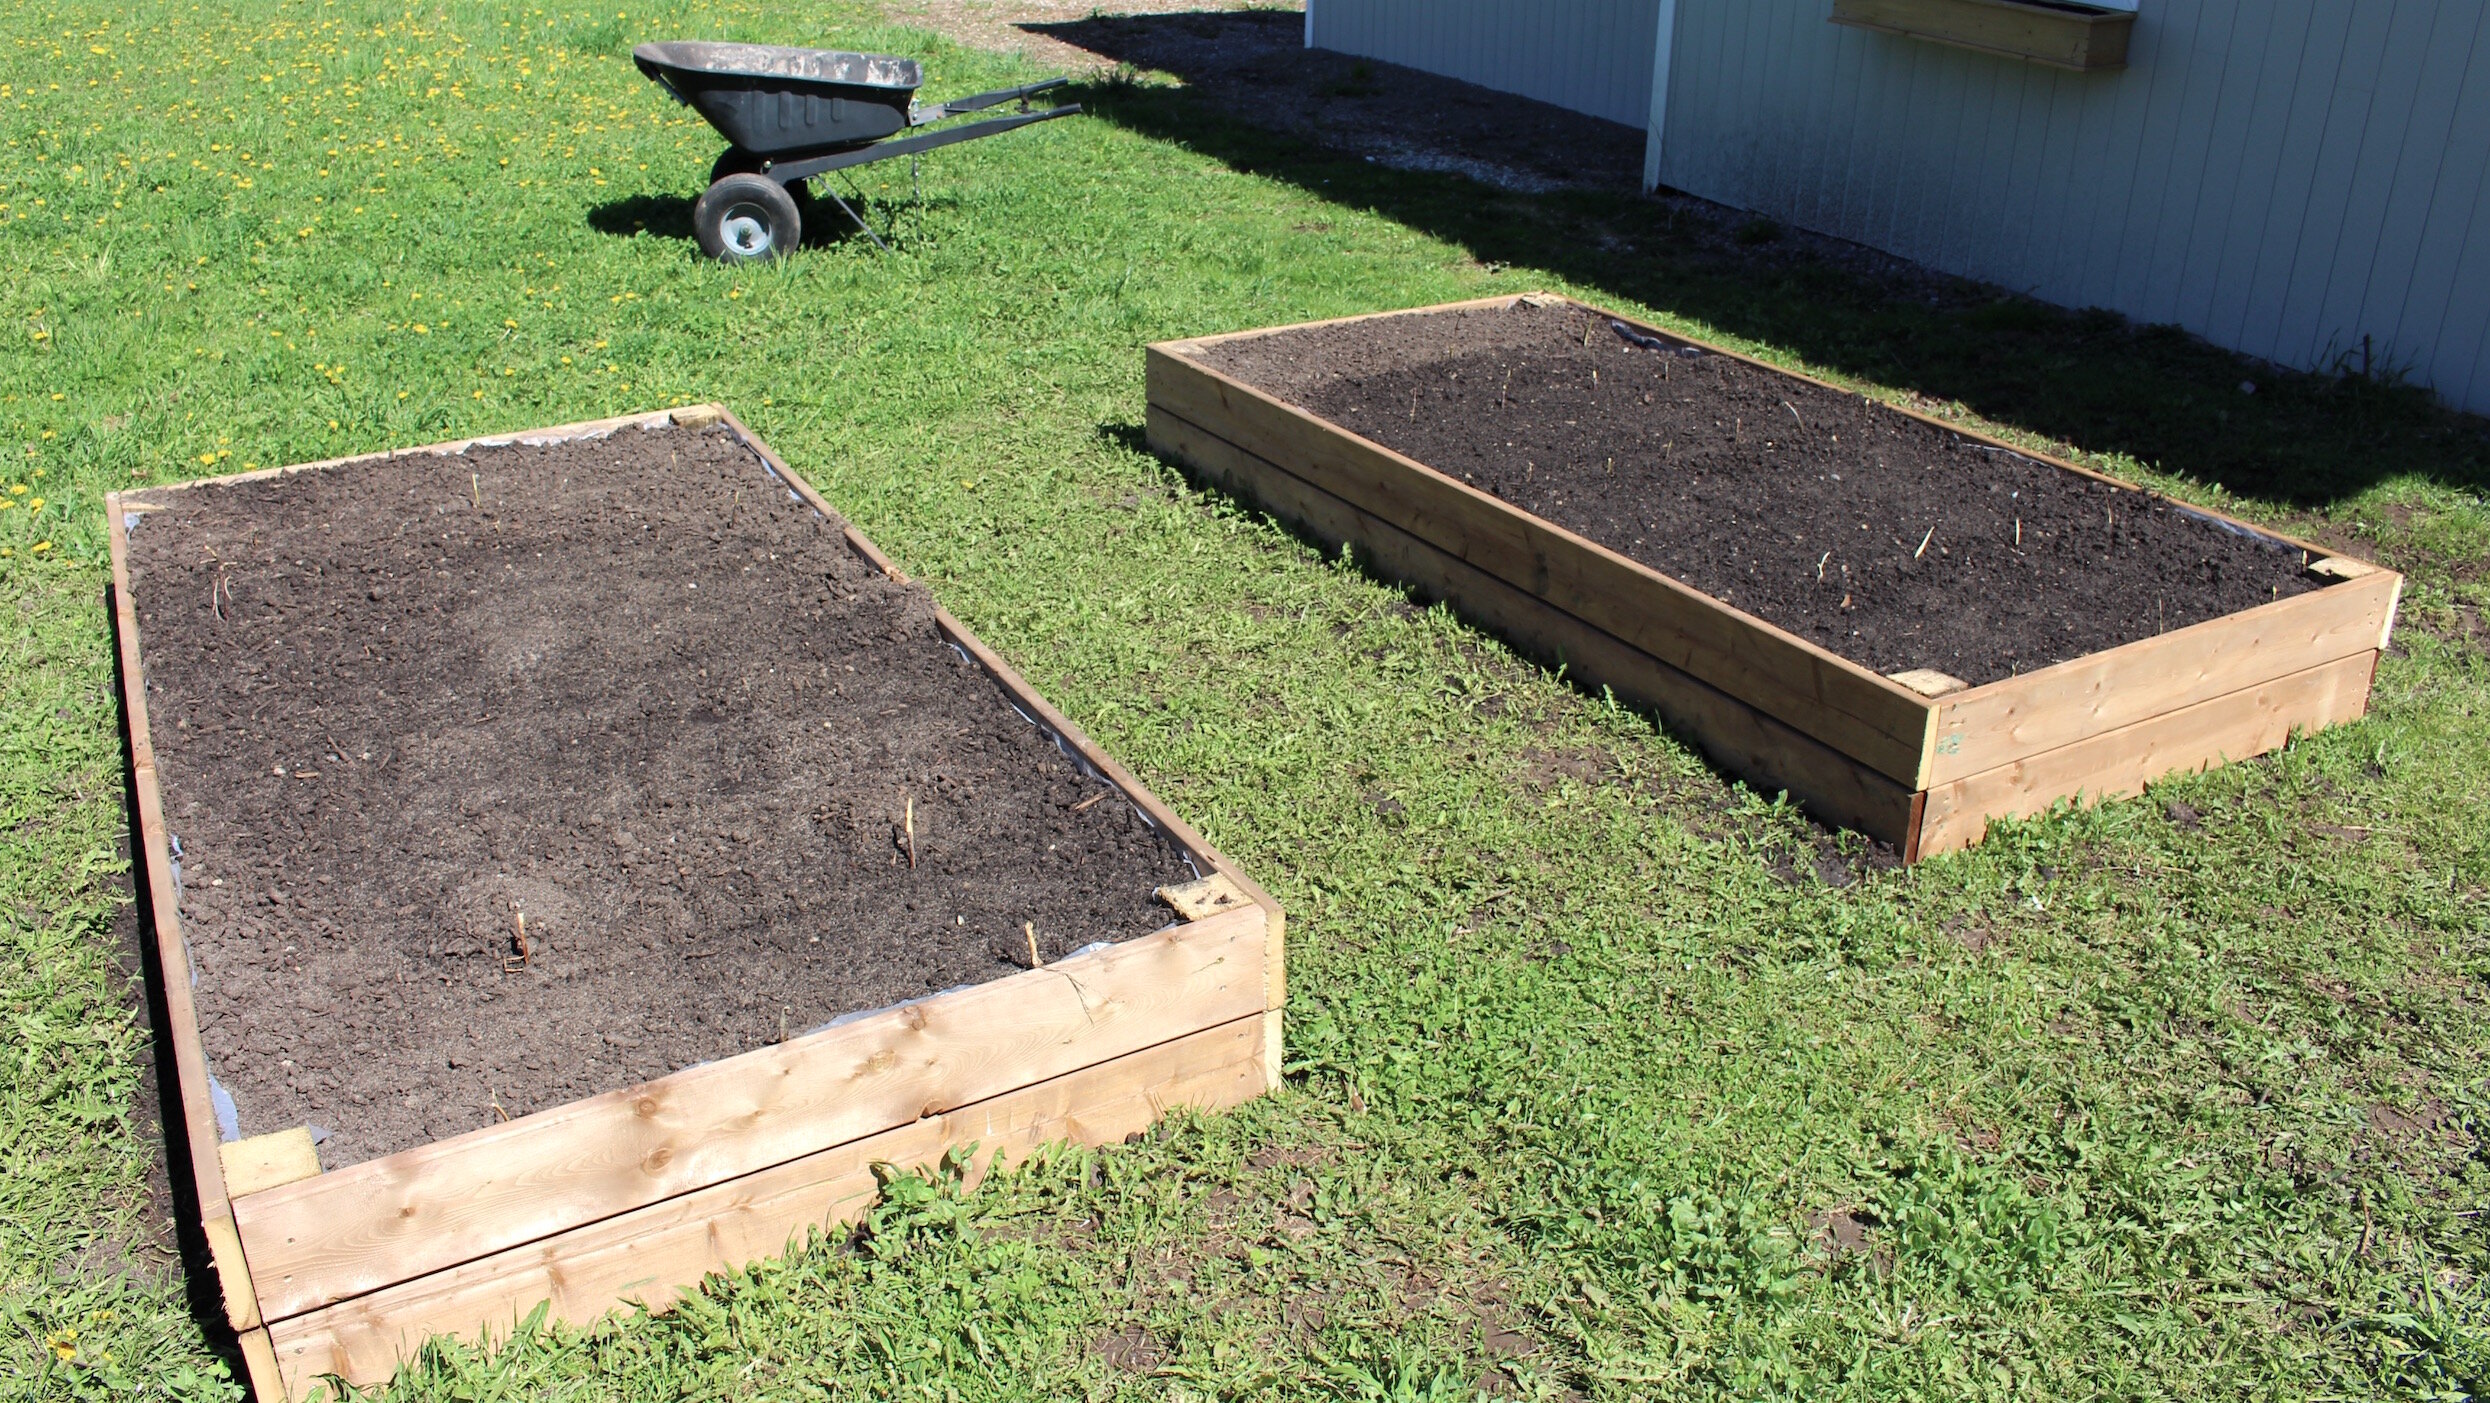
Below you will find a detailed step-by-step guide on how to build your own raised bed gardens. We’ve also included our cost breakdown and a comparative cost breakdown of cedar vs. pressure treated wood.
If you have limited tools don’t let this guide stop you! Your local hardware store can likely cut down the wood to the size you will need.
Materials List
Tape Measure
Shovel
Wheelbarrow
String
Staple Gun/Hammer Stapler/Tuck Tape
Small Pegs/Sticks (extra to mark seed location)
Soil (approx. 2.5 cubic yards for (2x) 8 ft x 4 ft x 12” raised beds)
(1x) 9 ft x 12 ft Clear Drop Cloth (LDPE Plastic)
(1x) 3 ft x 50 ft Weed Control Fabric
(1x pkg) Deck Screws (at least #8 x 2 ½”)
(2x) 4” x 4” x 8 ft Wood Posts, cut to eight 2 ft lengths
(1x) 2” x 4” x 8 ft Wood Boards, cut to two approx. 3 ft. 9½” pieces
(8x) 5/4” x 6” x 12 ft Wood Boards, cut to four 4 ft lengths and four 8 ft lengths
STEP 1: Pick a Location
Choose a spot that gets around 6 hours of sunlight per day and measure out the size of your raised bed using markers (we used twigs and string). Make sure it is within a reasonable distance from your garden hose. Dig a narrow trench around the area you have marked then remove the string.
We decided to have two 4 ft x 8 ft gardens spaced 3 ft apart from each other.
We chose 4 foot wide beds because that is as wide as we could go while still comfortably reaching the center of the bed. This makes weeding easier and we are less likely to compact the soil by leaning on it for support.
You can make your garden beds as long as you like. The longer (and wider) the bed, the more expensive it will be to fill it with soil. We were comfortable with the cost of two beds at 4 ft x 8 ft, but that length is up to you! Keep in mind that the materials listed above will need to be adjusted depending on your garden size.
STEP 2: Prepare the Ground
Once you have picked your spot you will need to prep the ground for your garden. If planting directly on your lawn dig down at least 1-2 inches and remove the top layer of soil/grass. A wheelbarrow will come in handy here so you can relocate what you have dug up.
Other sources mention that you can prep the ground by suffocating the grass with cardboard ahead of time. This would take longer but would be less physical effort. However, this step wasn’t so bad!
STEP 3: Begin Assembly
Now that you’ve established your garden bed locations you will need to dig a little deeper for the corner posts. First, dig an approximately 1 foot deep hole in each corner, of each bed. Insert a 2 foot long 4” x 4” post into each corner.
Next, you will begin to secure the side boards to the posts. We decided to do this by levelling the boards with each other instead of making them perfectly level…with a level. You do this by attaching one side fully, we suggest starting with one of your larger 5/4” x 6” x 8 ft long wood boards. Put the base of this first board at the existing height of the lawn. Then, match the boards at the end of the garden bed (the 5/4” x 6” x 4 ft wood boards) to the already attached 8 foot long side boards.
This will give the look of a perfectly square box, however, they will actually be sloped with the natural slope of the lawn. The downside of this choice is that because the lawn is naturally higher/lower at certain points of the bed, the depth is slightly less/more.
With a perfectly level garden bed there would be points where the bed would be much deeper. This may change the amount of soil you will need to fill the bed to the top. Different plants require different soil depths so keep this in mind - deeper may be better for some of your plants!
While installing these boards we used shims to space the boards from each other giving the raised beds a bit of air flow.
STEP 4: Finish Assembly
Since our beds were not perfectly level, we didn’t use posts exactly 2 feet long. We had some spare 4” x 4” posts and have access to a variety of tools. We left the posts longer and then removed the excess after the side boards were secure. Otherwise, you would cut even posts (2 ft long), start each hole at 1 foot deep, then dig as deep as you need to have the tops of the posts meet the tops of the side boards (this would require that you level the ground as well). If we were to do this again we would just dig more/less to account for the 2 foot long posts!
We then secured a piece of wood through the center of the bed to stabilize it. We also added a piece of wood going up each side to attach the two long side boards together for additional stability.
We originally attached the boards with a nail gun but, while this may seem easier, we would definitely recommend screws instead as a more secure option (we added screws later).
STEP 5: Weed Control
Next we secured weed control fabric along the base of the raised beds.
Although we did remove the top layer of the soil, weeds are persistent. This fabric will help stop weeds from growing into the garden from the base. It also helps ensure proper drainage vs. building a base for the beds where there is the potential for sitting water.
We secured the landscape fabric with staples (ideally you should use rust proof).
STEP 6: Protect the Wood
We used pressure treated wood for our sides, this is generally not the popular option. Cedar would have been our preferred option, however, it is about double the price.
The reason pressure treated wood isn’t the go-to option is because prior to 2003 some pressure treated wood was found to contain arsenic. While our research suggests that this is no longer the case, there are still chemicals used in the wood to keep it from rotting.
As we are using these gardens to grow vegetables we wanted to be on the safe side. We added a food safe plastic layer between the soil and the wood to act as a barrier. We used “LDPE” plastic (used in food storage containers) which we feel is a safer alternative to having the pressure treated wood directly against our soil. This layer may need to be replaced over time, we will check on it yearly.
You can see there is also some tuck tape used in the photo – it was a very windy day so that was just temporary while we figured out the placement of the plastic and stapled it down.
While cedar would definitely be a better alternative to pressure treated with plastic, this option helped keep our budget low (full cost breakdown below) and we feel that it is just as safe. It will also help protect the wood from the daily watering!
* Please keep in mind that this was a personal choice and while my research led me to believe that this particular plastic was safe to use I would love to hear other inputs. I did my research but I am by no means an expert!
STEP 7: Fill & Plant
Once your beds are built it is time to fill them with soil! Make sure you fill them evenly with soil, we needed approx. 1-1.5 cubic yard per raised bed. We used a soil calculator online to figure out how much we needed.
Now would also be a good time to add a compost layer at the top if you choose. If you can, have your soil delivered near your raised beds. Loose soil is generally less expensive than bagged soil so keep that in mind!
After filling, allow your soil to rest, we waited 24hrs before planting the seeds. Make sure to plant your seeds as per the guidelines on the seed package. Use some kind of marker to help you remember where your seeds are planted (we used small sticks). We also read a few gardening books to help us with companion planting which creates the best environment for your plants and reduces pest risk. Here was a great resource: https://www.chapters.indigo.ca/en-ca/books/the-vegetable-gardeners-bible-2nd/9781603424752-item.html (we just borrowed this book from our local library!).
Water your newly planted seeds. Make sure to water daily on non-rainy days and sometimes twice daily if it is a particularly sunny/hot day. Water levels are plant dependent so you’ll have to do a bit of research depending on what you decide to plant.
Be sure to weed regularly and, if necessary, consider building a chicken wire fence around your raised beds to keep out larger pests.
COST BREAKDOWN
If you’ve gotten this far you’ll know that we used pressure treated wood and plastic as a cost friendly alternative to cedar. Here is a breakdown of the cost of two raised garden beds using the two different options. We also included the cost of bagged soil vs. loose soil - huge savings here!
* These were prices we paid in CAD in early 2020. Prices may be different depending on where you purchase your materials and when.
Check out our veggies now:
We hope this blog post helps you with your next raised garden bed project!
Feel free to ask any questions in the comment box below and we will do our best to help you out.


